How to Fix Floating Floor Gaps in Click-Lock Planks FAST! (Using Carpet Tile Tape and a Wood Block)
Even with careful installation, vinyl click-lock floating floors can develop small gaps over time. These gaps often appear because of seasonal humidity changes, uneven subfloors, or normal expansion and contraction of the planks.
The good news? You don't need to replace the floor or use messy adhesives. With just a wood block, a mallet, and double-sided Carpet Tile Tape, you can easily close those gaps and restore your floor to a seamless look — without damaging the planks or locking mechanism.
This step-by-step guide shows you how to fix gaps in floating floor planks using Carpet Tile Tape by All Flooring Now — a professional-grade adhesive solution that's strong, residue-free, and easy to use.
🧰 What You'll Need
-
Carpet Tile Tape (available at CarpetTileTape.com)
-
A rubber mallet or small hammer
-
A wood block (2x4 or 4x4 works best)
-
Utility knife or scissors
-
Vacuum and small brush
Optional: Safety glasses and knee pads for comfort.
⚙️ Why Use Double-Sided Carpet Tile Tape for This Repair
Most DIYers use glue or pry bars to close gaps or fix laminate flooring gaps in floating floors, but these can cause long-term damage or leave visible marks. Carpet Tile Tape provides a controlled, temporary grip that helps you shift planks horizontally back together — without harming the finish. Proper installation also matters, including leaving an expansion gap around the room when the floor is installed.
Benefits:
-
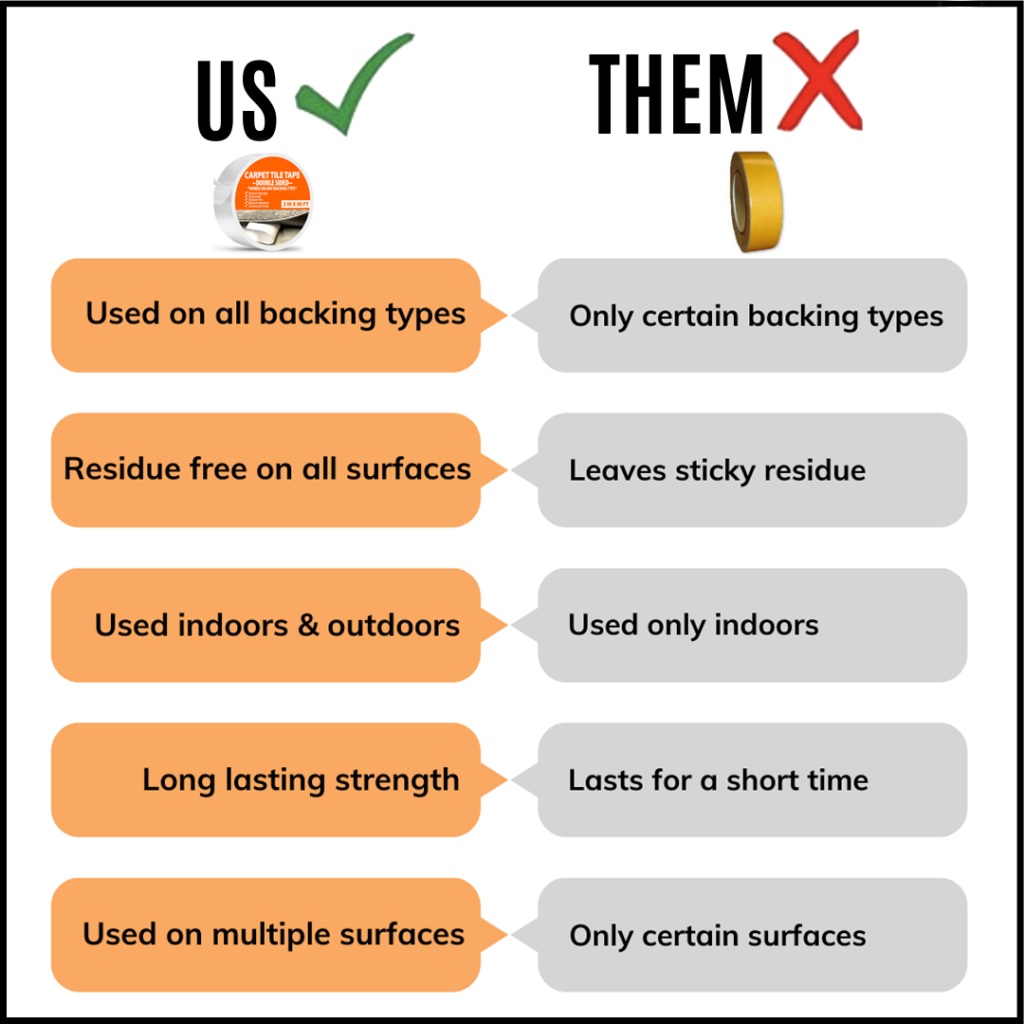
✅ Strong Hold, No Damage: Designed for flooring, not crafting — holds firmly but removes cleanly.
-
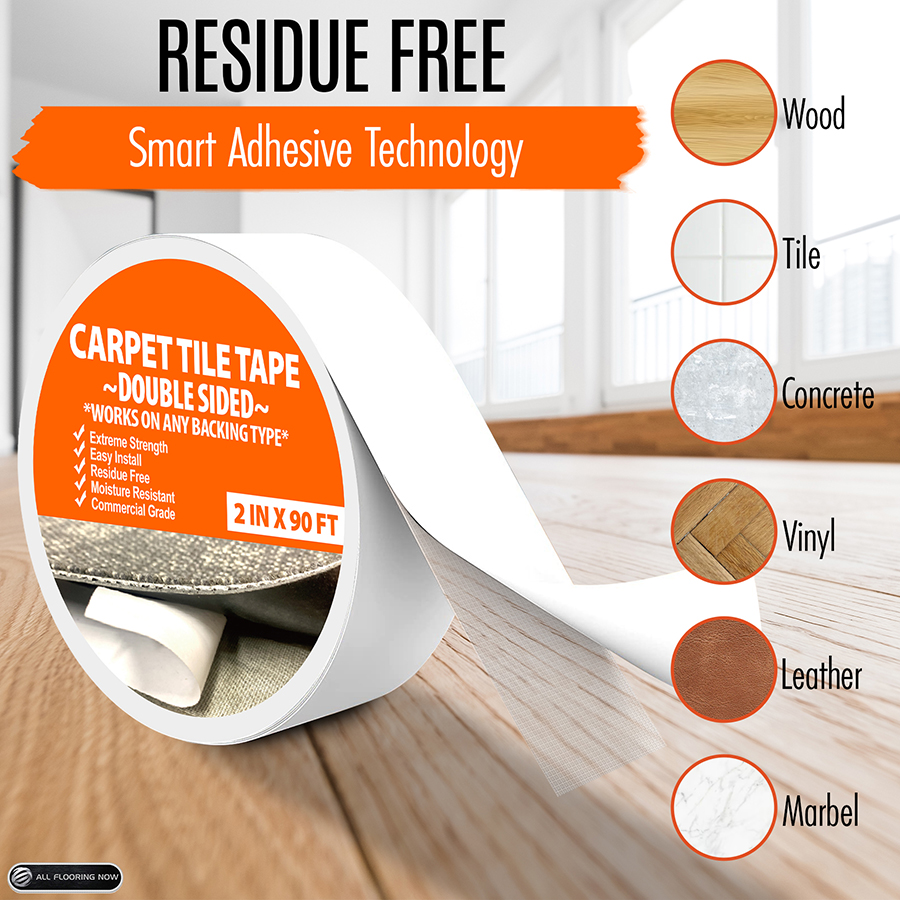
✅ Residue-Free Removal: Won't leave sticky residue or harm the click-lock seams.
-
✅ Precision Control: Keeps the wood block locked in place for accurate tapping.
-
✅ Fast and Reversible: Fix multiple gaps quickly, with zero drying time.
This technique works for laminate, vinyl, engineered hardwood, and hybrid floating floors.
🪜 Step-by-Step: How to Fix Laminate Flooring Gaps in Click-Lock Floating Floor Planks
Step 1: Prepare the Area
Start by cleaning the gap and the area around it thoroughly in the flooring room before shifting the affected plank.
-
Use a vacuum and small brush to remove dirt, debris, or dust inside the plank seams.
-
A clean surface ensures maximum grip for the Carpet Tile Tape and prevents scratches when shifting the planks.
💡 Tip: Avoid liquid cleaners — moisture can seep into the seams and expand the boards temporarily, and water damage can worsen seam issues and make the repair harder.
Step 2: Prepare the Wood Block
Cut a piece of 2x4 or 4x4 wood to roughly the same width as one plank.
-
Sand one side lightly if it's rough — this will be your working surface.
-
The block will serve as your pressure tool, helping you nudge the planks back together safely while protecting the plank edge as force is applied; it’s the easiest method if you don’t have a dedicated floor gap fixer or tapping block.
Step 3: Apply the Carpet Tile Tape
Cut one or two strips of double-sided Carpet Tile Tape — about 6 inches each.
-
Stick the tape to the sanded side of the wood block.
-
Press firmly so it bonds evenly.
-
Peel off the top paper backing to expose the second adhesive layer.
Your wood block is now prepped with a strong, removable adhesive that will hold it in place on the floor plank.
Step 4: Attach the Block to the Plank
Position the taped side of the wood block onto the gapped plank near the seam.
-
Press down firmly so the tape adheres securely to the plank surface.
-
The Carpet Tile Tape provides enough grip to hold the block in place while you apply lateral pressure. On smooth laminate planks, some people may also use suction cups, but the taped block gives you more control.
Step 5: Close the Gap
Using a rubber mallet or small hammer:
-
Tap gently on the end of the wood block, pushing the connected plank horizontally toward the gap and tapping planks back together without damaging the edge.
-
The planks will slide and lock back together, closing the separation line. If the gap is tight near a wall, some installers use a pull bar to pull the plank closed without damaging the trim.
Repeat light, controlled taps until the gap disappears. Avoid excessive force — a few gentle hits are usually enough. For small end gaps, steady pressure with one foot can help keep the plank from shifting while tapping.
Step 6: Repeat and Adjust
Once the first gap is closed, move the block further along the row until all the gaps are worked out.
-
It's common for one gap to close while another opens a few planks down, so shifting one area can move the gap toward the middle or another section of the row — simply continue this process.
-
The final small gap, often just the last half-inch, will usually shift under the baseboard or trim, where it's hidden from view, though in some rooms baseboard molding or quarter-round may need to come off for access.
🧼 Clean Up and Check Your Work
After finishing:
-
Gently lift the wood block — Carpet Tile Tape removes easily without residue.
-
Walk the whole floor in that room to check for any remaining floor gaps or movement, and make sure the repaired planks are even and firmly locked.
-
Replace any baseboards, molding, or transition pieces removed during repair, and fasten them to the wall so they do not pinch the floating floor.
If gaps keep returning, inspect the subfloor for movement or an uneven subfloor before repeating the repair.
Now your floating floor should look perfectly seamless again — no visible gaps, no damage.
🧠 Why This Method Works So Well
This repair technique takes advantage of the click-lock design of floating floors, because laminate flooring and engineered flooring are floating systems that can shift horizontally when properly installed, allowing adjustment without dismantling planks. The Carpet Tile Tape gives you the grip you need to shift the planks precisely while staying gentle on the flooring surface.
heavy furniture can restrict movement across the floor and reopen laminate planks or flooring planks if pads or clearance are not used. During dry winter months, the air inside the house can make planks shrink slightly, especially in rooms above a basement or other low-humidity areas.
-
Safe for all floating floors (laminate, vinyl, engineered wood, hybrid)
-
Tool-free (no pry bars or special jigs)
-
Fast and repeatable for ongoing maintenance
🏆 Best Tape and Floor Gap Fixer for Flooring Repairs
Carpet Tile Tape by All Flooring Now is engineered specifically for:
-
Flooring installations and adjustments
-
Strong grip with clean, residue-free removal
-
Use on vinyl, laminate, hardwood, and tile surfaces
-
Indoor and light commercial projects
This tape also helps you do a clean repair job without special metal tools.
It's the #1 recommended tape for flooring professionals, DIYers, and contractors who want precision and reliability without surface damage. This method is best for closing gaps, while boards damaged by water may need replacing with new laminate and wood glue instead of trying to fill the seam. If that damage is limited to one board, you can replace just that section rather than redoing everything.
🛒 Order your carpet tile tape now for fast, professional-grade flooring repairs.