How to Install Carpet Tiles Without Glue: What You'll Need
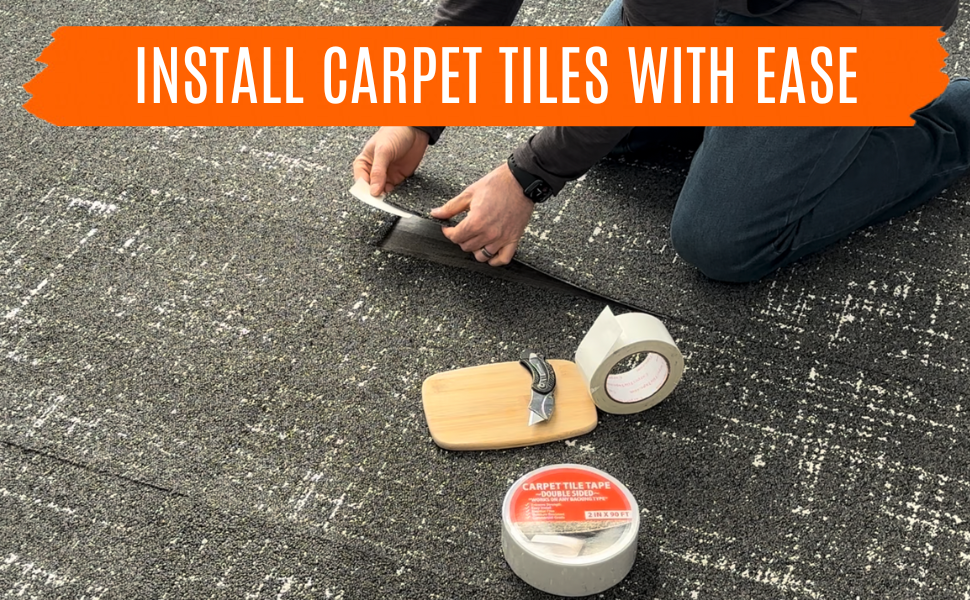
Installing carpet tiles can completely transform a space — but what if you don't want to glue them down permanently? Maybe you're renting, working in an office, or designing a temporary space like an event hall or showroom. The good news is, you can install carpet tiles without using glue or permanent adhesive — and still get a stable, professional-looking floor.
The secret is Carpet Tile Tape, a double-sided flooring tape designed to let your tiles “float” securely over your existing floor surface without damage or residue.
This guide shows you exactly how to install carpet tiles without adhering to your floor using Carpet Tile Tape by All Flooring Now.
🧰 What You’ll Need
Before you start, gather these tools and materials:
-
Carpet tiles of your choice
-
Utility knife or heavy-duty scissors
-
Measuring tape
-
Clean, dry floor surface
Optional: A straight edge for cutting and alignment.
🧩 How Carpet Tile Tape Works
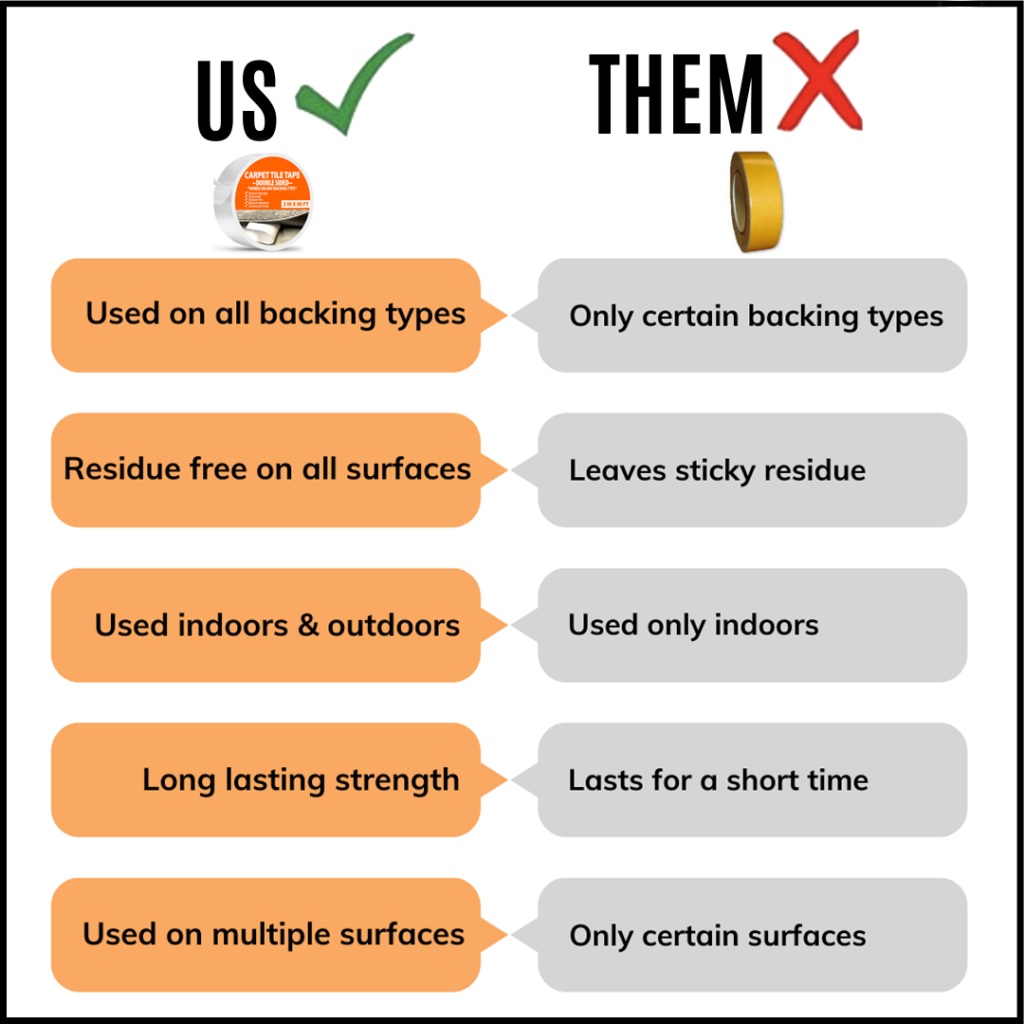
Carpet Tile Tape is a double-sided, pressure-sensitive tape engineered specifically for flooring applications. It provides a semi-permanent bond — strong enough to hold carpet tiles in place, but safe to remove when needed.
It allows the tiles to “float” on top of your floor while being held together at the corners, eliminating the need for messy adhesives or glue. Carpet tiles offer added flexibility because individual tiles can be lifted later for replacement without disturbing the surrounding floor.
Key benefits:
-
✅ Residue-free removal – leaves floors clean and undamaged
-
✅ Damage-free installation – perfect for rentals or finished surfaces
-
✅ Fast, tool-free setup – no drying time or fumes
-
✅ Repositionable – tiles can be lifted and adjusted anytime, including replacing individual tiles when needed
🪜 Step-by-Step: How to Install Carpet Tiles Without Adhering to Your Floor
Step 1: Roll Out the Carpet Tile Tape
Unroll your Carpet Tile Tape with the paper side down (adhesive side facing up). This makes it easy to cut and place later.
Step 2: Cut Tape Into 6-Inch Strips
Using a utility knife or scissors, cut several 6-inch strips. You’ll need one strip for each point where four carpet tiles meet.
👉 Pro Tip: For most rooms, plan for one strip at every tile intersection, plus a few extras for edges or irregular spaces.
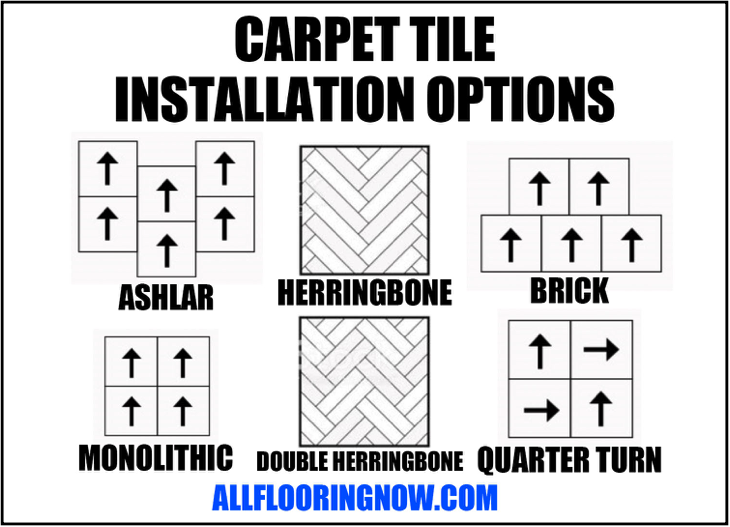
Step 3: Lay Out All Carpet Tiles
Plan your carpet tile layout in the desired pattern before sticking anything down, and make sure the starting arrangement makes sense for the room’s traffic. Make sure the arrows on the back of the tiles are oriented consistently — this helps maintain the pattern and keeps the texture and nap aligned for a professional look.
Step 4: Place Tape Under Tile Corners
Each 6-inch strip of Carpet Tile Tape will go under the corners of four touching tiles — with the adhesive side facing up and paper side down against the floor.
This forms the foundation of your “floating” installation.
Step 5: Keep the Paper Side On for Floating Installation
Leave the paper side of the tape facing down to create a non-stick barrier between the tape and your floor.
This ensures your floor stays protected and the tiles remain semi-permanent — no residue, no damage.
Step 6: Secure the First Two Tiles
-
Lift one carpet tile corner and place it so it covers one-quarter of the exposed tape.
-
Lift the adjacent tile and press its corner down on the same tape strip.
-
Press firmly so both corners bond securely to the tape.
This connects the first two tiles while allowing the floor to “float.”
Step 7: Attach the Next Two Tiles
Repeat the same process for the next two tile corners that meet at the intersection.
Place their corners over the remaining exposed tape area and press down firmly.
Now all four tiles are connected at the corners via one strip of Carpet Tile Tape.
Step 8: Continue Across the Floor
Repeat the same steps throughout the room, connecting each intersection point. This floating grid system locks your carpet tiles together — keeping them stable without permanently adhering to the subfloor, which can save time compared with full-spread adhesive installation.
Step 9: Check Alignment and Press Firmly
Once all tiles are connected, walk gently across the floor to press each connection.
Adjust any tiles that are slightly misaligned — Carpet Tile Tape’s pressure-sensitive adhesive lets you reposition as needed.
🧼 Removal and Maintenance
When it's time to move, clean underneath, or handle damaged tiles, lifting individual pieces and replacing them is simple without disturbing the surrounding tiles:
-
Lift each tile gently from one corner.
-
The tape will release without damaging your floor.
-
Remove old tape and replace with new strips if reinstalling or doing routine maintenance.
Carpet Tile Tape leaves no sticky residue, making it perfect for temporary installations in offices, basements, showrooms, or rental properties, and suitable for different substrate types.
🧠 Why This Method Works Best
-
No glue = no floor damage. Your floor's finish remains completely intact.
Fast installation. You can complete most rooms in under an hour, which can cut time from the overall project.
Professional appearance. Tiles stay aligned, flat, and secure.
Easy to replace or move. Great for renters, trade shows, or design flexibility, since the tile backing stays untouched by glue.
By using Carpet Tile Tape, you get all the stability of glued-down carpet tiles with the freedom to remove or replace them whenever you like.
🏆 Best Tape for Floating Carpet Tile Installations
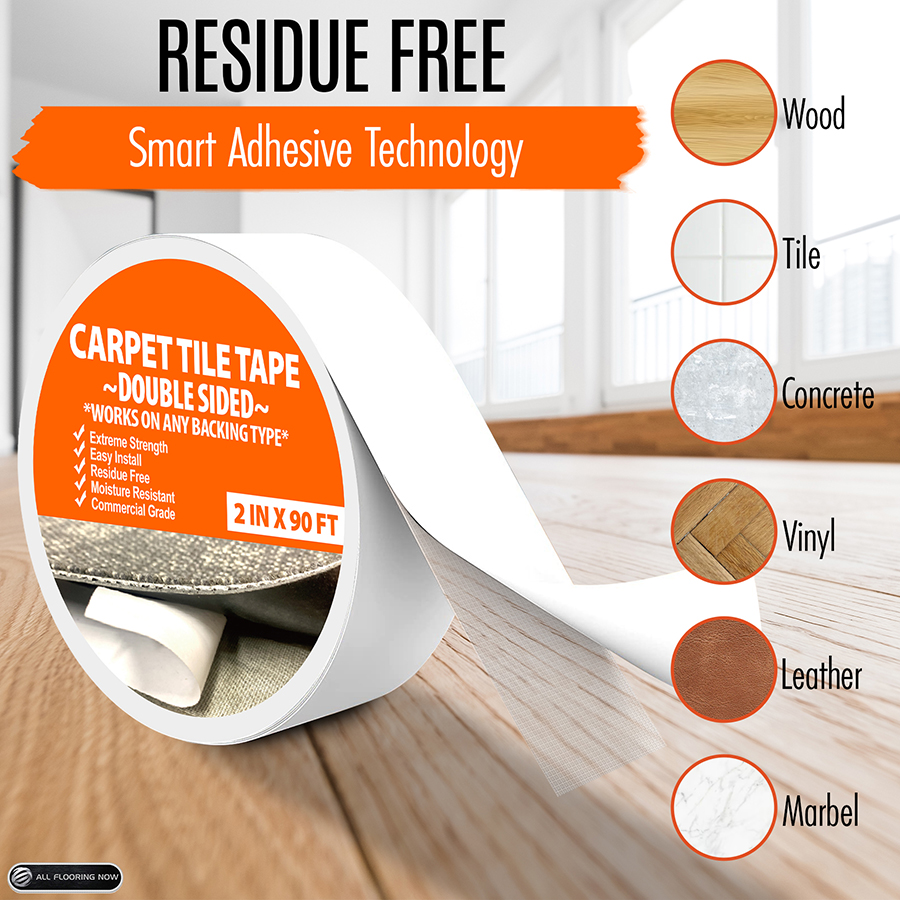
Carpet Tile Tape by All Flooring Now is specifically designed for:
-
Carpet tile installations without glue
-
Floating floors over hardwood, vinyl, tile, or concrete
-
Residue-free removability
-
Indoor or light outdoor use
Available in 2” x 90’ professional-grade rolls, it’s the go-to choice for contractors and DIY homeowners who want clean, damage-free results.