Top 10 Carpet Tape Installation Tips 2026
Installing carpet tape properly is essential for ensuring a secure and long-lasting bond between the carpet tile or rug and the floor.
Here are the top 10 carpet tape installation tips:
-
Prepare the surface: Clean the floor thoroughly to remove any dust, dirt, or debris. Ensure that the surface is dry and free from any moisture.
-
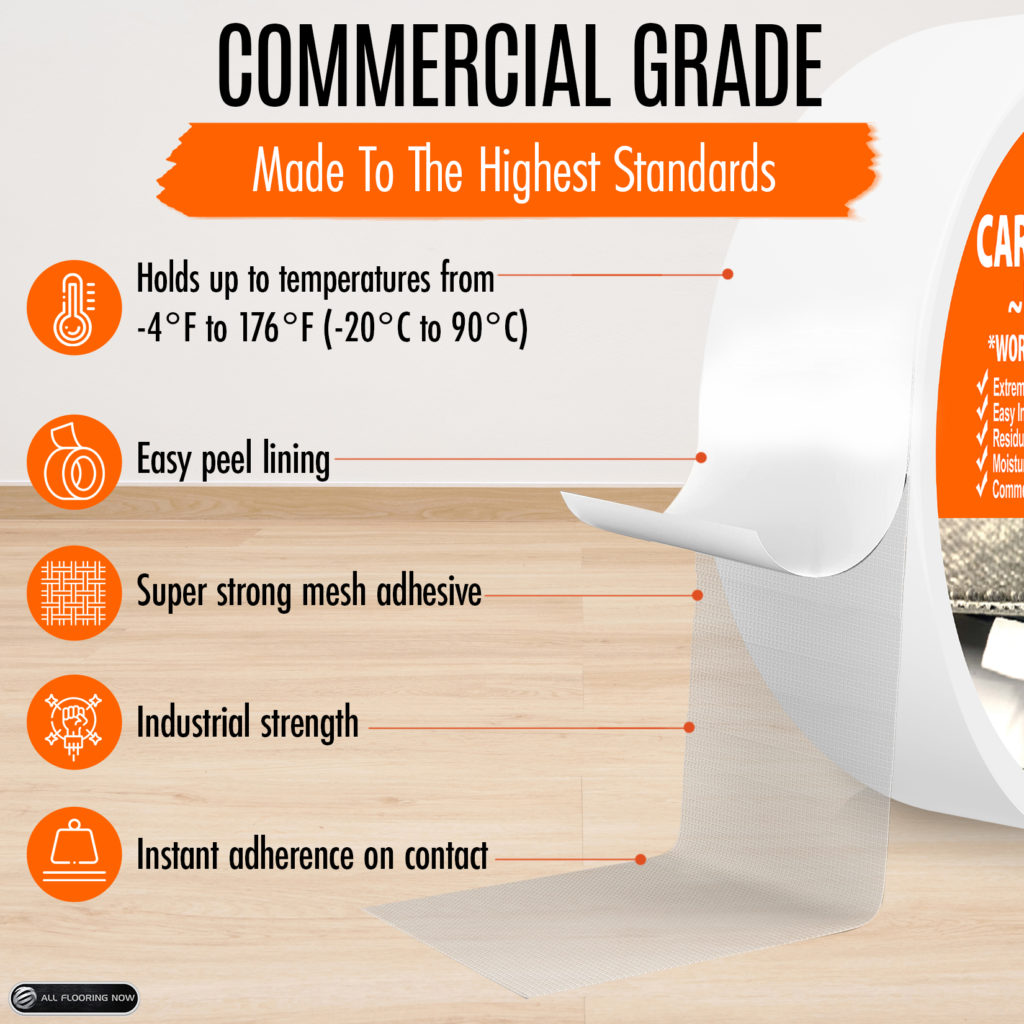
Choose the right tape: Select a high-quality carpet tape suitable for your specific carpet type and the flooring material. Consider factors like adhesion strength, width, and whether it's designed for permanent or temporary installations. The carpet tape we recommend is All Flooring Now Double Sided Carpet Tape Heavy Duty
-
Measure and cut the tape: Measure the length of the area where the tape will be applied. Cut the carpet tape with a utility knife into appropriate lengths, leaving a little extra on each end for easier handling.
-
Position the tape: Place the cut strips of tape along the edges and seams of the carpet, leaving a gap of around 1/4 inch from the edge. Ensure that the tape is positioned parallel to the carpet edge.
-
Press firmly: Press the carpet tape down firmly onto the floor, ensuring complete contact between the adhesive and the surface. Use your hand or a carpet roller to apply even pressure along the length of the tape.
-
Remove the backing: Peel off the backing from the tape, exposing the adhesive side. Be careful not to touch the adhesive to prevent any transfer of oils or dirt.
- Apply pressure and allow time for bonding: Once the carpet tiles or rug is in place, walk or apply pressure evenly over the entire area to enhance bonding. Give the adhesive some time to set and bond properly before subjecting the carpet to heavy traffic or cleaning.
Remember to follow the specific instructions provided by the manufacturer of the carpet tape you are using. These tips should serve as general guidelines, but the product's instructions may provide additional details or precautions.