How to Install Rubber Stair Treads
Installing rubber stair treads is a relatively simple process, but it does require some basic tools and a bit of know-how. Here are the general steps for installing rubber stair treads:
Materials needed:
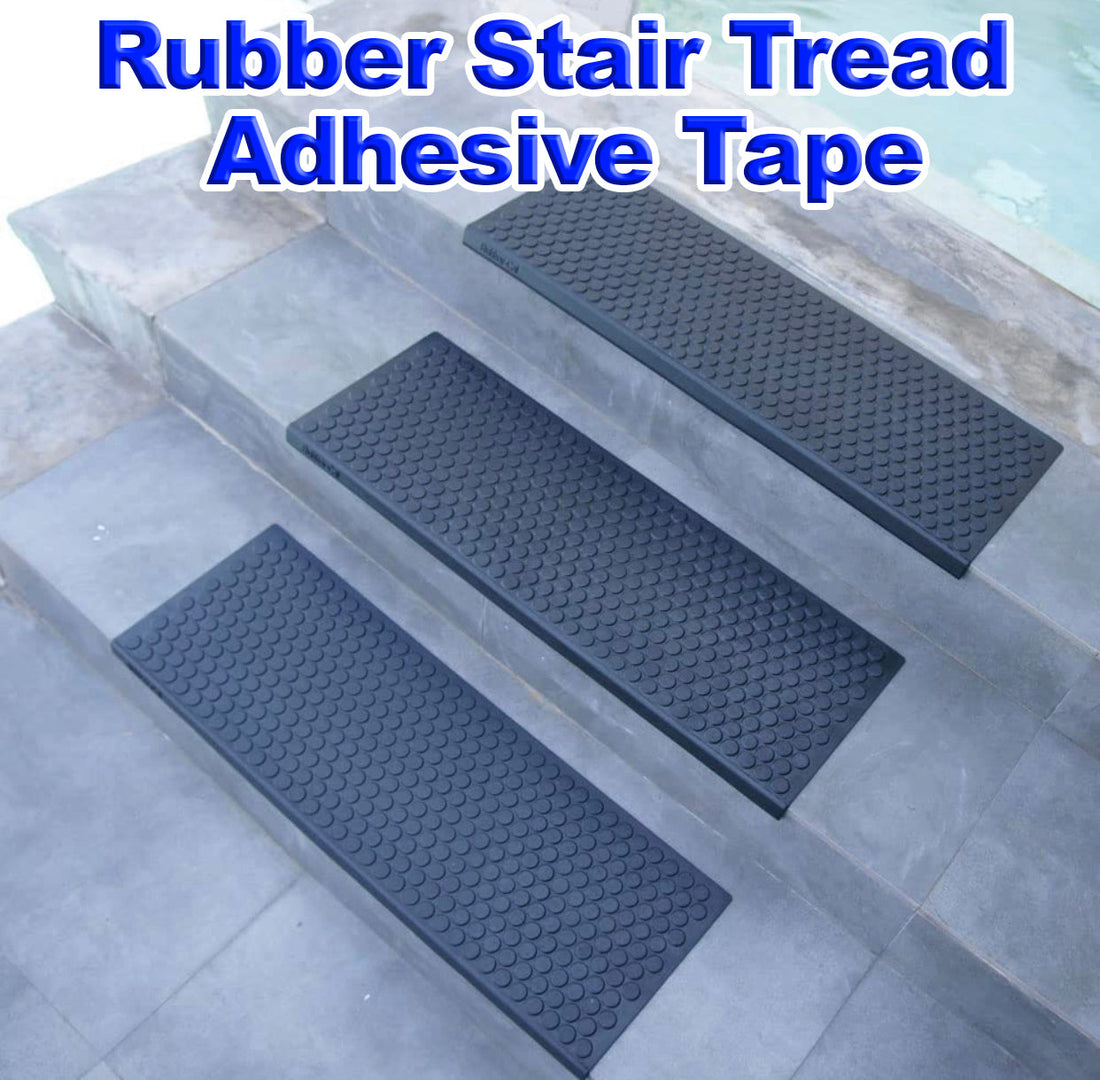
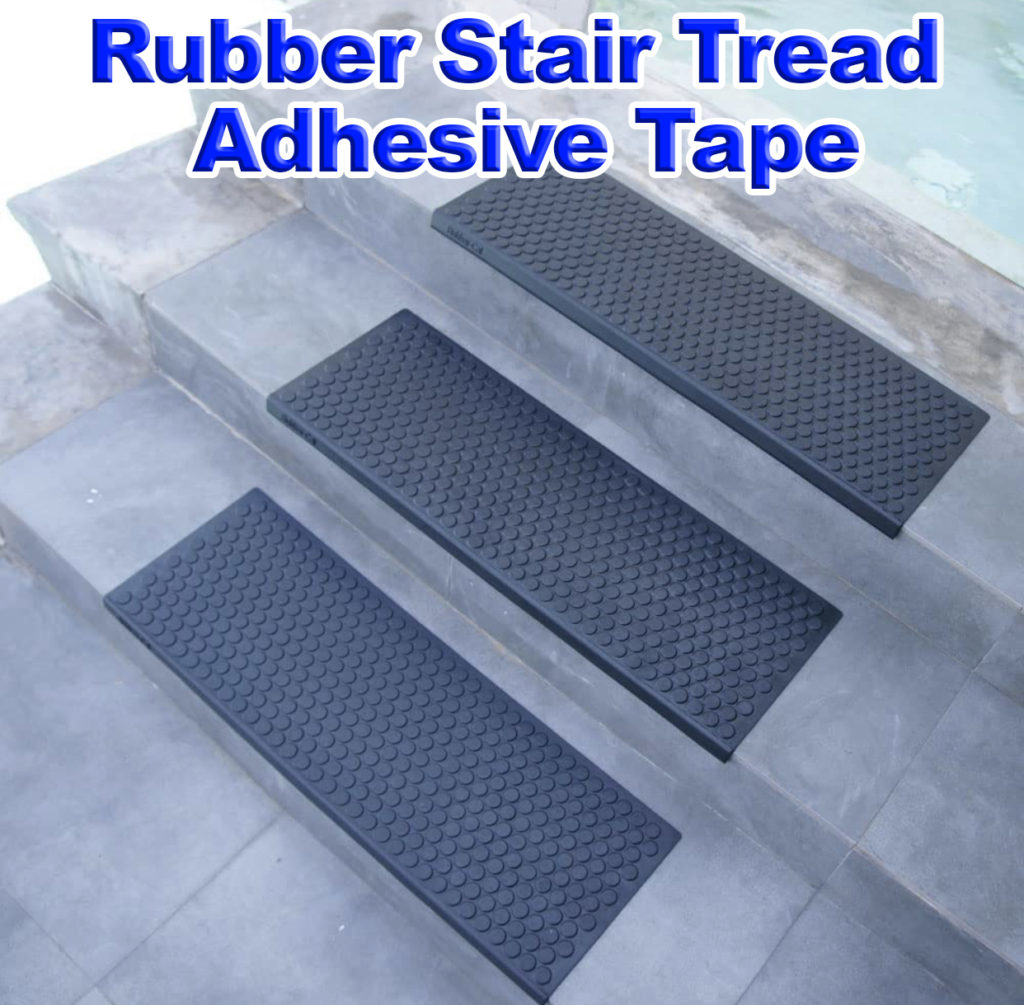
- Rubber stair treads
- Measuring tape
- Pencil
- Circular saw or utility knife
- Commercial Double Sided Rubber Stair Tread Adhesive Tape or contact cement
- Utility knife
Instructions:
- Measure the width and depth of each stair tread and mark the measurements on the back of the new rubber treads with a pencil. Use a circular saw or utility knife to cut the treads to the correct size.
- Clean the stairs thoroughly to ensure that they are free of dirt and debris.
- Apply double sided rubber stair tread adhesive tape or contact cement to the back of each stair tread. Make sure to apply it evenly.
- Place the tread on the stair, lining it up with the front edge of the step. Use a trowel to press the tread firmly in place.
- If using rubber stair treads on the edge of the stairs, install stair nosing to cover the edge of the stair and provide a finished look. Follow the manufacturer's instructions for installing stair nosing.
- Repeat this process for each stair tread until all treads are installed.
- Once all treads are in place, trim any excess rubber using a utility knife.
- Allow the adhesive to dry according to the manufacturer's instructions before using the stairs (normally 12 - 24 hrs).
It's important to note that these are general instructions, and specific steps may vary depending on the type of rubber stair treads you are installing and the specific installation instructions provided by the manufacturer. Always read and follow the manufacturer's instructions carefully to ensure a proper installation.

