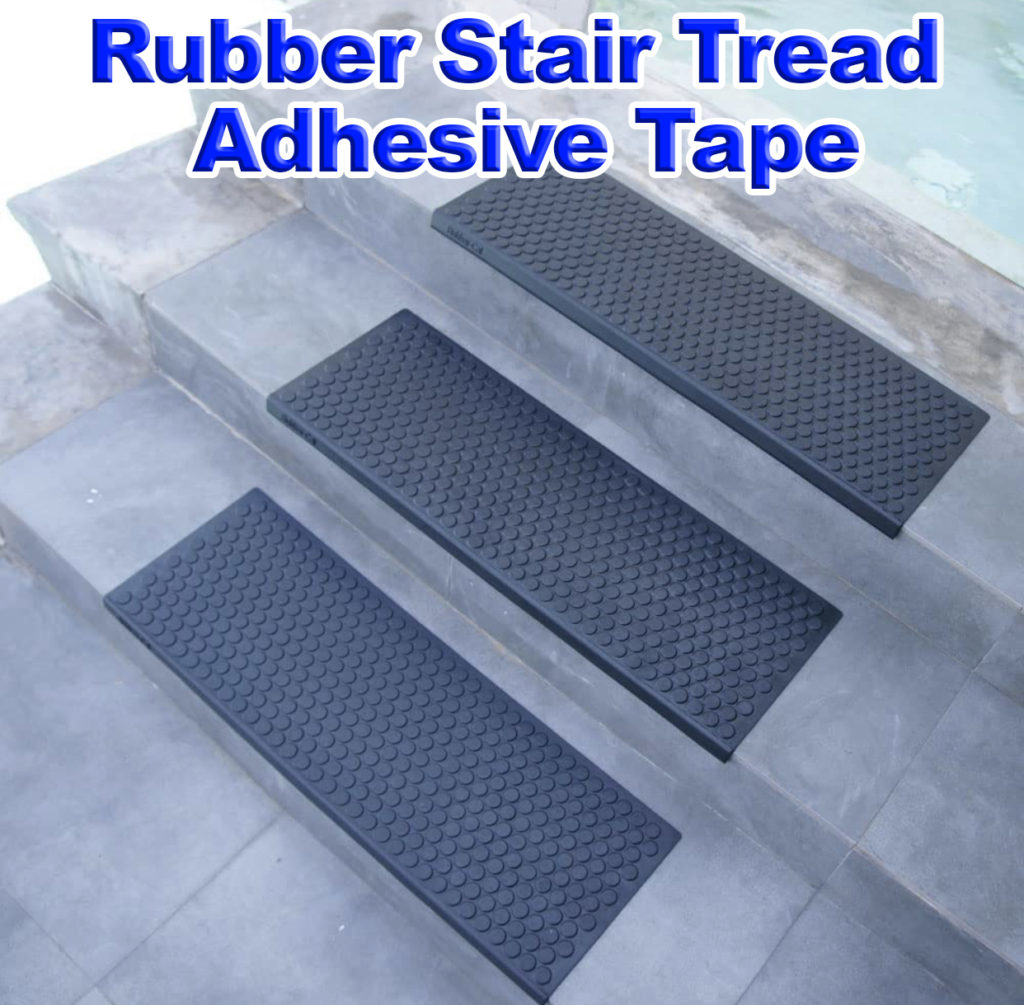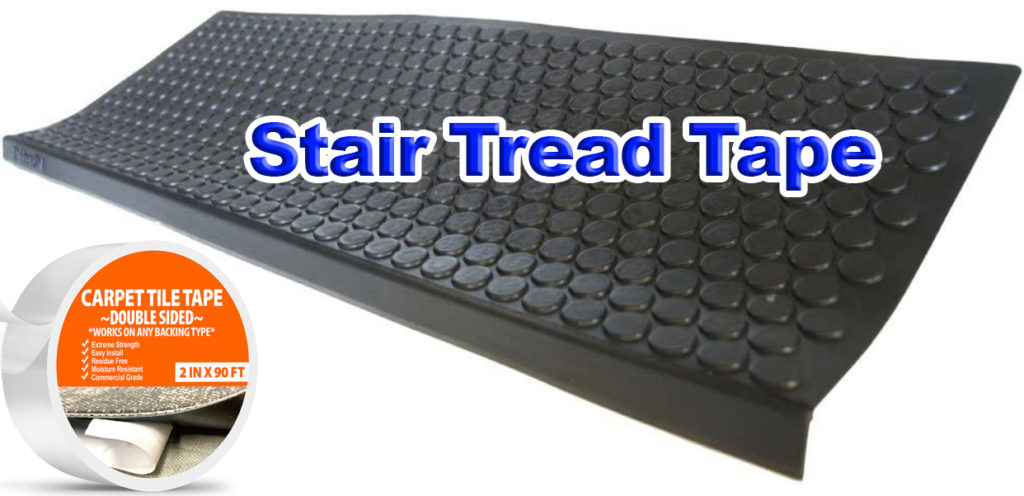
How To Install Stair Treads With Double Sided Carpet Tape
Carpet tape can be a useful tool for securing stair treads, especially in situations where traditional methods like nails or screws are not desired or feasible. Here are some general steps on how to use double sided carpet tape to install stair treads:
-
Clean the stair treads: Ensure that the stair treads are clean and free from dust, debris, and any existing adhesive residue. Clean the surface thoroughly to ensure good adhesion.
-
Measure and cut the carpet tape: Measure the length of the stair tread and cut the carpet tape accordingly. It's generally recommended to use a double-sided carpet tape that is specifically designed for securing carpets and stair treads.
-
Peel off the backing: Peel off the backing of the carpet tape to expose the adhesive on both sides.
-
Apply the carpet tape: Carefully apply the carpet tape to the back of the stair tread, ensuring that it is centered and aligned properly. Press firmly on the tape to ensure good adhesion to both the stair tread and the underlying surface.
-
Remove the top backing: Once the carpet tape is applied to the stair tread, carefully peel off the top backing to expose the adhesive on the top side.
-
Install the stair tread: Position the stair tread in place on the stairs, aligning it properly with the edges and the risers. Press down firmly on the stair tread to ensure that it adheres well to the stairs and the carpet tape bonds properly.
-
Repeat for other stair treads: Repeat the above steps for all the other stair treads, ensuring that they are installed securely and aligned properly.
- Test for stability: After installing all the stair treads, test them for stability by walking on them and applying some pressure. If any stair treads feel loose or unstable, reapply the carpet tape or consider using additional fasteners like screws or nails for added security.


