How to Install Vinyl Plank Flooring with Double Sided Carpet Tape
Vinyl plank flooring has become a popular choice for homeowners and businesses alike due to its durability, versatility, and easy installation. One cost-effective and efficient method to install vinyl plank flooring is by using double-sided carpet tape. This adhesive solution offers a secure bond while ensuring that the planks can be easily repositioned or removed if needed. In this comprehensive guide, we will walk you through the step-by-step process of installing vinyl plank flooring with double-sided carpet tape, providing you with a seamless and professional result.
Materials You'll Need:
- Vinyl plank flooring
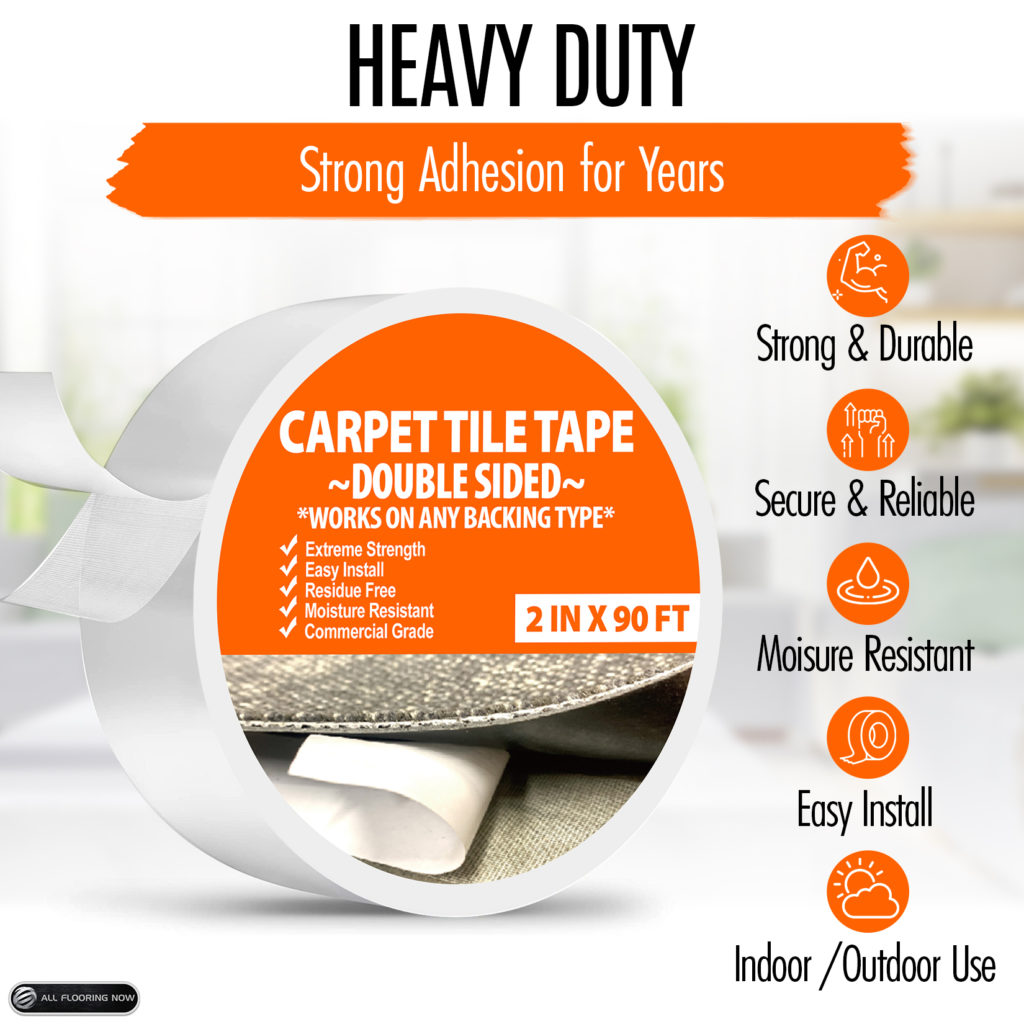
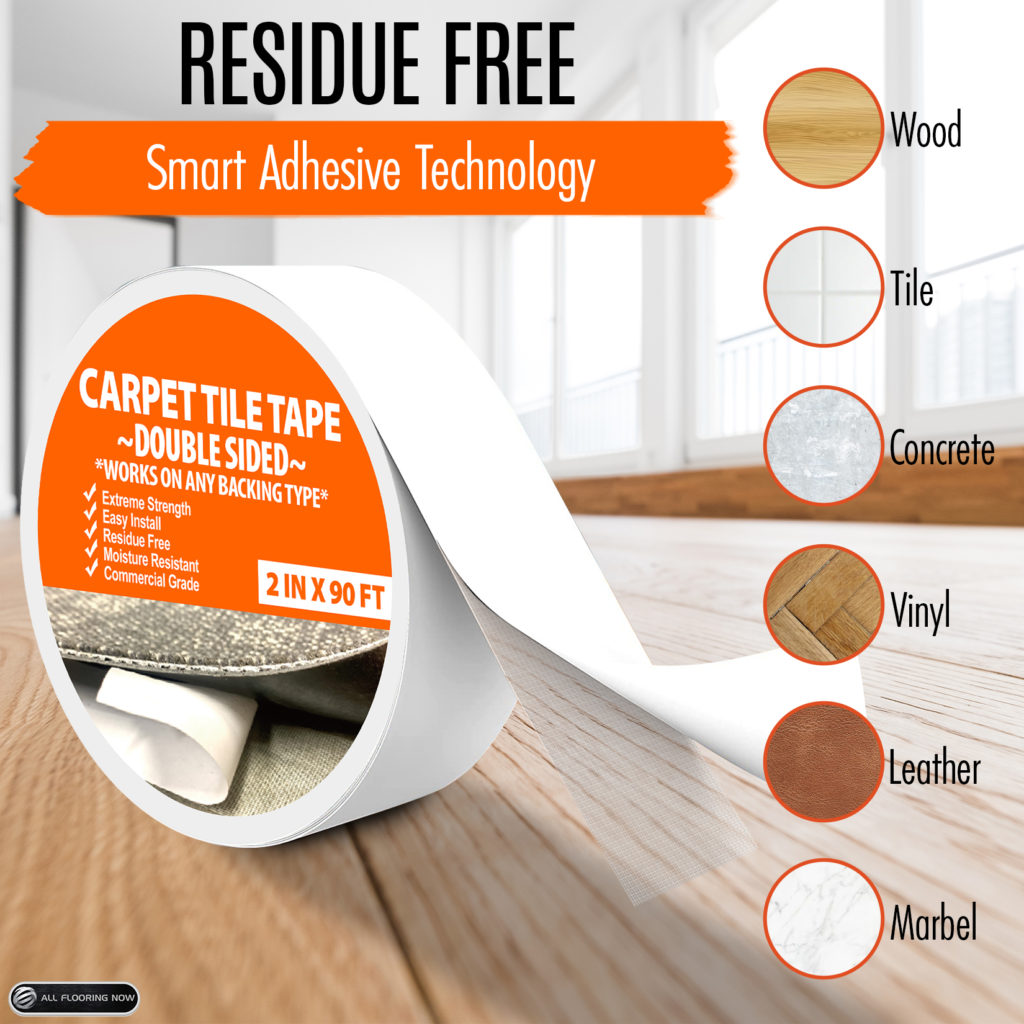
- Double-sided carpet tape heavy duty
- Measuring tape
- Utility knife or vinyl cutter
- Straight edge or T-square
- Pencil or marker
- Rubber mallet or flooring roller
- Clean cloth or mop
- Subfloor adhesive primer (optional)
- Caulk or sealant (for perimeter sealing, if required)
Step 1: Prepare the Subfloor
Before starting the installation process, ensure that the subfloor is clean, dry, and level. Remove any existing flooring, and thoroughly clean the surface to remove dust, debris, and any adhesive residues. If the subfloor is concrete, consider applying a subfloor adhesive primer to enhance adhesion.
Step 2: Measure and Plan
Measure the dimensions of the room and calculate the square footage to determine how much vinyl plank flooring you'll need. Consider the plank orientation, and plan the layout to achieve a balanced and visually appealing design. Start installing the planks from the center of the room and work your way outwards.
Step 3: Acclimate the Vinyl Planks
Place the boxes of vinyl plank flooring in the room where they will be installed, and allow them to acclimate to the room's temperature and humidity for at least 24-48 hours. This step is essential to prevent buckling or warping after installation.
Step 4: Prepare the First Row
Begin the installation by laying the first row of vinyl planks along one wall. Leave a small gap (around 1/8 inch) between the planks and the wall to allow for expansion. Use a straight edge or T-square to ensure a straight alignment.
Step 5: Apply the Double-Sided Carpet Tape
Starting with the first row of vinyl planks, apply double-sided carpet tape along the edges of the plank's backside. Ensure that the tape covers the entire length of each plank. Depending on the size of the planks and the manufacturer's instructions, you may need to apply additional strips of tape along the length of the planks.
Step 6: Install the Vinyl Planks
Carefully press the first row of vinyl planks onto the double-sided carpet tape. Use a rubber mallet or flooring roller to firmly secure the planks in place. Repeat this process for subsequent rows, ensuring that each plank is aligned with the previous one and that there are no gaps between the planks.
Step 7: Cut Planks to Fit
When you reach the end of a row or encounter obstacles like doorways or corners, you may need to cut the vinyl planks to fit. Use a utility knife or vinyl cutter to make precise cuts. Remember to leave a small gap around edges for expansion.
Step 8: Continue Installation
Continue installing the vinyl plank flooring row by row, applying double-sided carpet tape to each plank and securing them in place until you reach the opposite wall.
Step 9: Check for Evenness and Alignment
Periodically check the evenness and alignment of the planks as you proceed with the installation. Adjust as necessary to maintain a professional and visually pleasing appearance.
Step 10: Finish the Installation
Once all the planks are installed, use a rubber mallet or flooring roller to ensure that the entire floor is securely adhered to the double-sided carpet tape. Clean the surface using a damp cloth or mop to remove any adhesive residue.
Step 11: Perimeter Sealing (Optional)
If desired, apply caulk or sealant along the edges of the room to provide additional water resistance and prevent moisture from seeping beneath the vinyl plank flooring.
Installing vinyl plank flooring with double-sided carpet tape is an efficient and cost-effective method that delivers excellent results. By following this step-by-step guide, you can achieve a professionally installed vinyl plank floor that is durable, visually appealing, and easy to maintain. Remember to take your time during the installation process, and soon you'll be enjoying the beauty and benefits of your new vinyl plank flooring.


